3D printing might sound like something straight out of a sci-fi movie, but it’s been around for a while and is becoming more popular every day! At its core, 3D printing is a process of creating physical objects from a digital design. It works by laying down thin layers of material, one on top of the other, until the final product takes shape. Simple, right?
Think of it this way: when you bake a cake, you start with ingredients and mix them together. Then, layer by layer, you add more batter and let it cook until you have a delicious dessert. 3D printing does something similar, just with plastic, metal, or other materials instead of cake ingredients!
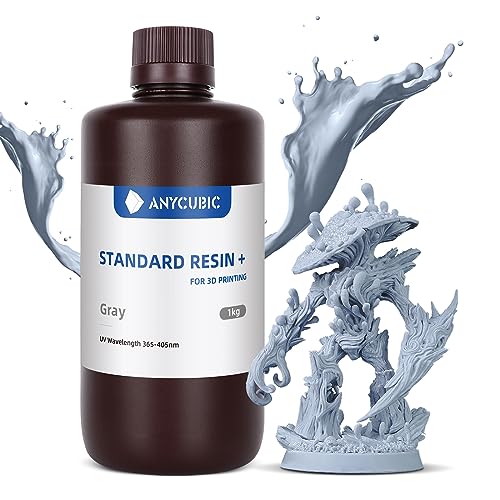
There are several types of 3D printing technologies, but the most common is Fused Deposition Modeling (FDM). This is where heated plastic filament is slowly extruded through a nozzle to create layers. Other methods include Stereolithography (SLA) and Selective Laser Sintering (SLS), which use resin or powdered materials instead. Each method has its own benefits, depending on what you need the final product to be.
So why is everyone talking about 3D printing? Well, it allows makers, designers, and hobbyists to create their own custom items, from toys to prototype parts for inventions. It opens up a world of possibilities, making it easier for people to bring their ideas to life without the need for expensive tools or manufacturing processes!
Essential Tools and Materials You Need
Getting into 3D printing? You’ll want to gather some essential tools and materials to set yourself up for success. Starting out, it's all about having the right basics to make your printing experience smooth and enjoyable.
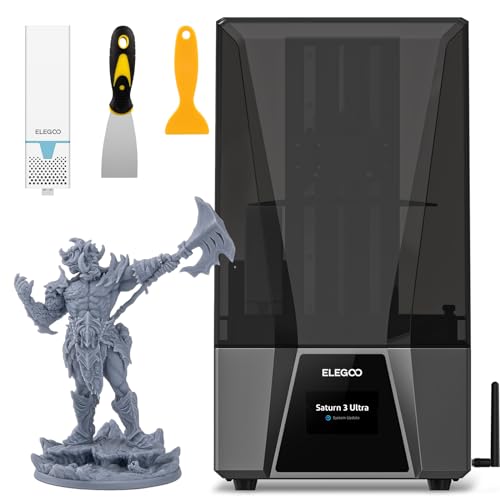
1. 3D Printer: Obviously, you need a printer! Consider your budget and space. There are several types, but FDM (Fused Deposition Modeling) printers are great for beginners. They’re affordable and user-friendly.
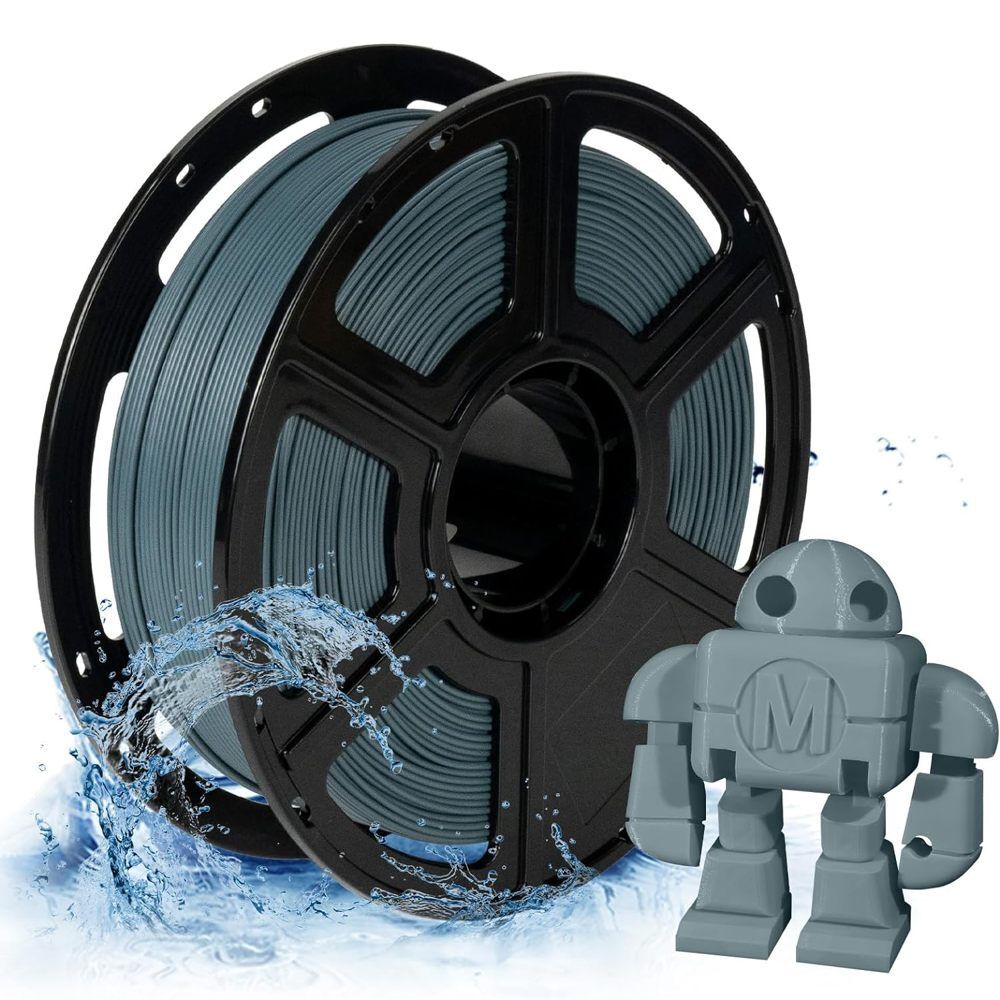
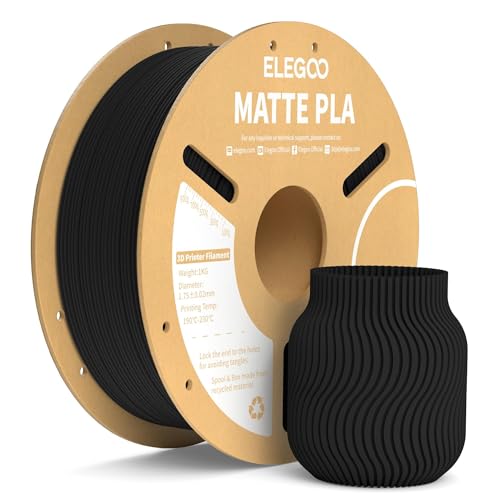
2. Filament: This is the material your printer uses to create objects. PLA is a fantastic starting point because it’s easy to work with and doesn’t require a heated bed like some other types. It also comes in a variety of colors, which is fun!
3. Slicing Software: You’ll need a program that translates your 3D model into a format the printer can understand. Popular options include Cura and PrusaSlicer. They’re mostly free and pretty intuitive once you get the hang of it.
4. Tools for Post-Printing: After a print, you might need some tools for cleanup. Keep a pair of tweezers handy for removing supports, a craft knife for trimming, and some sandpaper for smoothing out edges. These simple tools make a big difference!
Step-by-Step Printing Process Explained
When you’re ready to dive into 3D printing, it helps to know the steps involved in the printing process. Let’s break it down so it’s easy to follow.
1. Designing Your Model
First off, you’ll need a 3D model. You can create one using software like Tinkercad, Blender, or Fusion 360. If you're not into designing, there are tons of free models available online from websites like Thingiverse or MyMiniFactory. Just pick one that catches your eye!
2. Slicing the Model
Once you have your design, the next step is to slice it. This means converting the 3D model into instructions your 3D printer can understand. You'll use slicing software like Cura or PrusaSlicer for this. These programs let you set things like layer height, infill density, and print speed. It's like prepping a recipe before cooking!
3. Preparing the 3D Printer
Now, it's time to get your printer ready. Make sure it’s clean and calibrated properly. Load your filament, which comes in various materials like PLA or ABS, depending on what you're printing. Check the print bed to ensure it’s level, as this helps with adhesion and overall print quality.
4. Printing Your Model
With everything set up, send your sliced file to the printer, either by SD card or through a USB connection. Sit back and watch the magic happen! You might want to keep an eye on it at first, just to make sure everything is going smoothly.
5. Post-Processing
After your print finishes, you’ll usually need to do a bit of cleanup. This can include removing supports and sanding down rough edges. You can also paint or finish your model if you want to take it to the next level!
Troubleshooting Common 3D Printing Issues
Getting started with 3D printing is exciting, but you might run into a few bumps along the way. Don't worry! Here are some common issues and simple steps to troubleshoot them.
1. Poor Adhesion to the Build Plate
2. Under-extrusion
3. Stringing